Hello Readers 👋,
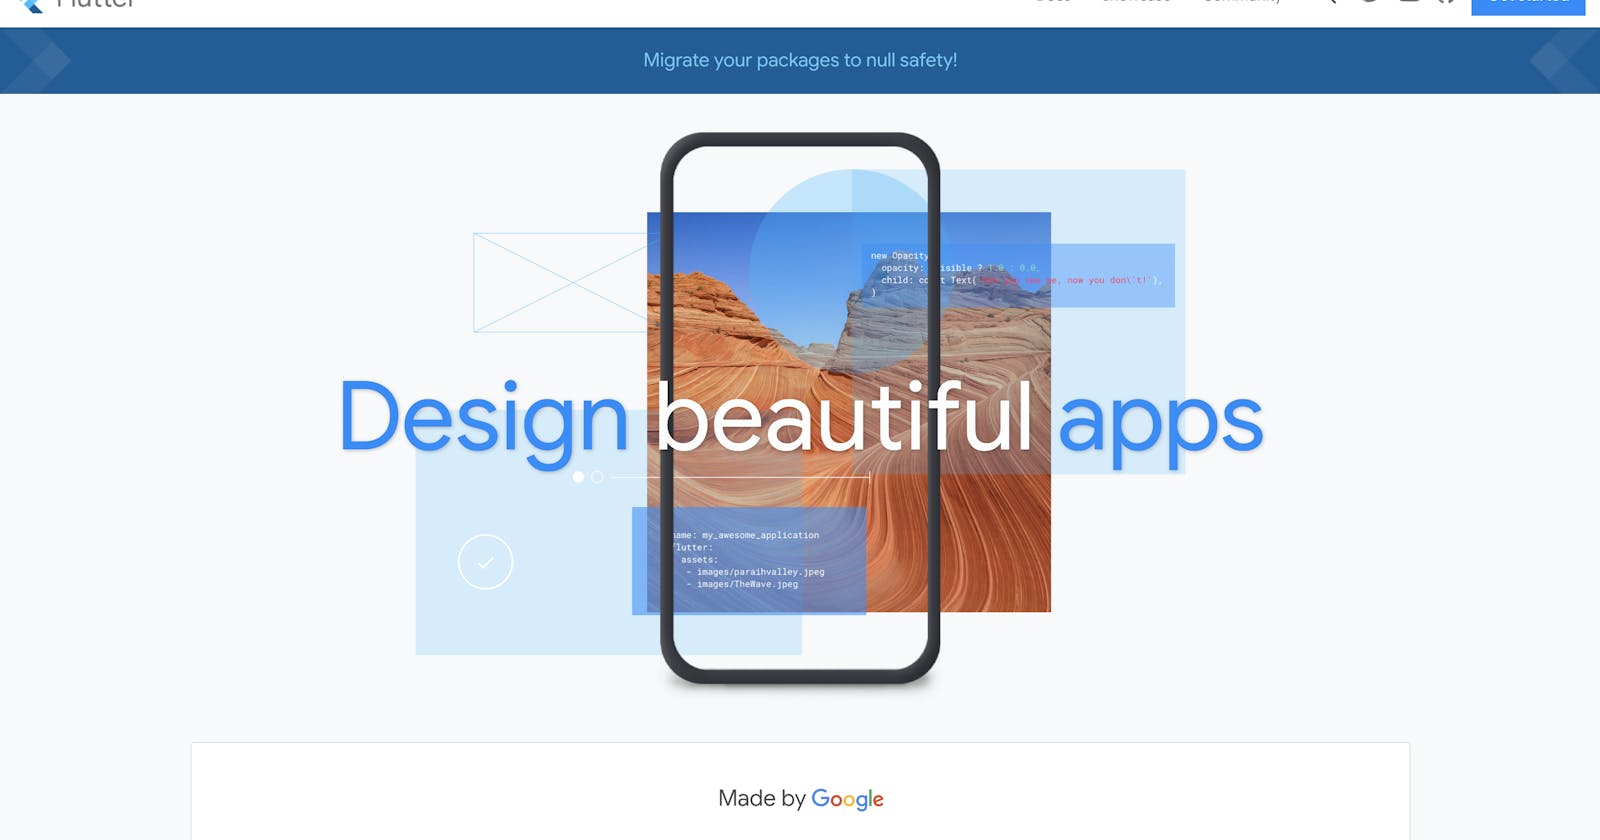
As everyone hopes to set up the flutter documentation website locally so that we don't have to constantly need to go online to access the documentation whenever we need any information on any topics. So today's let’s try to set up the documentation website locally. UPDATE: I have updated this blog by adding setups involved in hosting the Flutter API doc website.
Let's Setup the Prerequisites
Let's go to the Flutter/ Website GitHub repository provided by the Flutter Organisation which contains the source code for the documentation website which we are going to use for hosting our website.
Now let's check the readme.md file which got the information on how to set up the website locally.
These are the required tools. Install the following tools, if you don't have them already.
- bash, the Bourne shell.
- nvm, the Node Version Manager.
- rvm, the Ruby Version Manager.
- Flutter (You get Dart when you get Flutter. Confirm with which flutter and which dart.)
- GNU diffutils version 3.6 or later.
$ brew install diffutils
These instructions assume you're using bash -- setup might not work if you use another shell. But just follow along, for now, I will mention the change in setup when we require.
Next main prerequisite is cloning the source code for the website
This repo has git submodules, which affects how you clone it.
- Clone this repo and its submodule at the same, use the
-recurse-submodulesoption:
$ git clone --recurse-submodules https://github.com/flutter/website.git
At any time during development you can use the git submodule command to refresh submodules:
  $ git pull
  $ git submodule update --init --remote
Run installation scripts
It is safe to (re-)run all of the commands and scripts are given below even if you already have the required packages installed.
Open a bash terminal/command window and execute the following commands:
1.After you have cloned this repo, change to the root of this repo:
$ cd <PATH_TO_REPO>
2.Run the env-set.sh script to initialize environment variables, and to install/use required Node & Ruby version:
$ source ./tool/env-set.sh
3.Run before-install.sh to install the core set of required tools:
$ ./tool/before-install.sh
4.Run install.sh to install everything else needed to build this site:
$ ./tool/install.sh
Any time you create a new terminal/command window to work on this repo, repeat steps 1 and 2 above.
Running Installation script for the ZSH shell
Above methods result in an error as
travis_fold command not found
So now let's follow another method which works for the ZSH shell.
1.After you have cloned this repo, change to the root of this repo:
$ cd <PATH_TO_REPO>
2.Run the command npm install to install all the node packages required
$ npm install
3.Run the command bundle install to install all the ruby packages required
$ bundle install
Deploying the website locally
Now onto the final setup Deploying the website locally. For that, there are 2 ways
- Using the npm
- Using the bundle
First, let's deploy the website using the npm command
npm run start
This command will deploy the documentation website at http://localhost:5000
If we want to change the port number we have to open the tools/serve.sh file. And goto line 70.
(set -x; $SERVE --version; $SERVE --port ${SITE_LOCALHOST_PORT:-5000}) &
change the port value which is mentioned after the SITE_LOCALHOST_PORT:- To whatever port number you desire. (But there is one max limit for the port number do look out for that😉)
The second way of Deploying the website using the bundle command
$ bundle exec jekyll serve --incremental --watch --livereload --port 4002
As you can see we have mentioned the port as 4002 so the website will be deployed at
http://localhost:4002 . If we want to change the port we just have to change the number mentioned after the argument —port.
Let's Deploy the API Doc website
- Clone this repository
git clone git@github.com:<your_name_here>/flutter.git - Get inside the cloned folder
cd flutter - Let's fetch all the Dart packages that Flutter depends on
flutter update-packages - Now start generating a local copy of the API documentation.
If we have successfully generated the Documentation we will get the success message../dev/bots/docs.sh

Or If you get any error message just run the same command one more time till we get the success message.

- Finally let's check out our website
Once complete, check
./dev/docs/docto check your API documentation. The search bar will not work locally, so open./dev/docs/doc/index.htmlto navigate through the documentation, or search./dev/docs/doc/flutterfor your page of interest.
Thank You
So By now you also might have the documentation website running locally on your system. So let's congratulate ourselves for this 🥳. Now as usual If you find any mistakes do let me know about it I will make those changes. Thank you for reading the article/ blog (Still don't know the difference between the two) leave a like and comment if you find it useful.
In the next blog, I will write about the Scaffold widget in the flutter app by creating an example flutter app.
vale 👋
